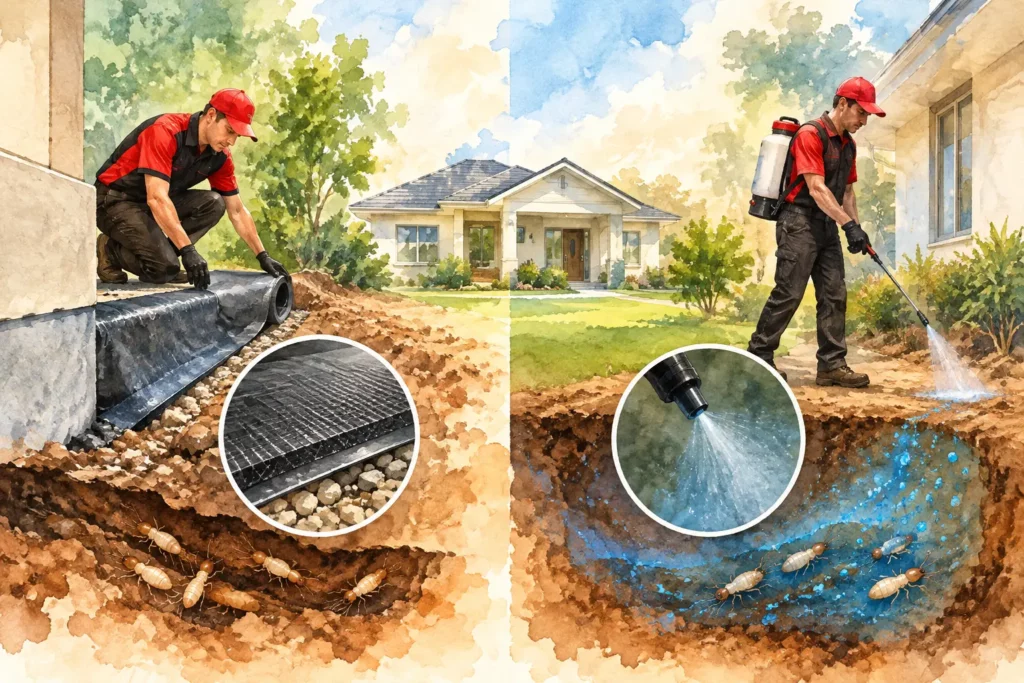
A termite barrier is not simply a box to tick at handover or after an inspection. For Sydney homeowners, choosing between physical vs chemical termite barriers can affect how easily termite entry is detected, what maintenance is required, and how well the property is protected over time. The right answer depends on the home’s construction, soil conditions, access around the slab, and whether termites are already active.
At TERMITE HELP, we assess barriers as part of a long-term protection plan. That means looking beyond the initial installation to inspect drainage, garden levels, slab edges, service penetrations, wall cavities, and the condition of any installed reticulation system. Termites can cause serious hidden damage before visible signs appear, and most home insurance policies do not cover that loss.
Physical vs Chemical Termite Barriers: The Key Difference
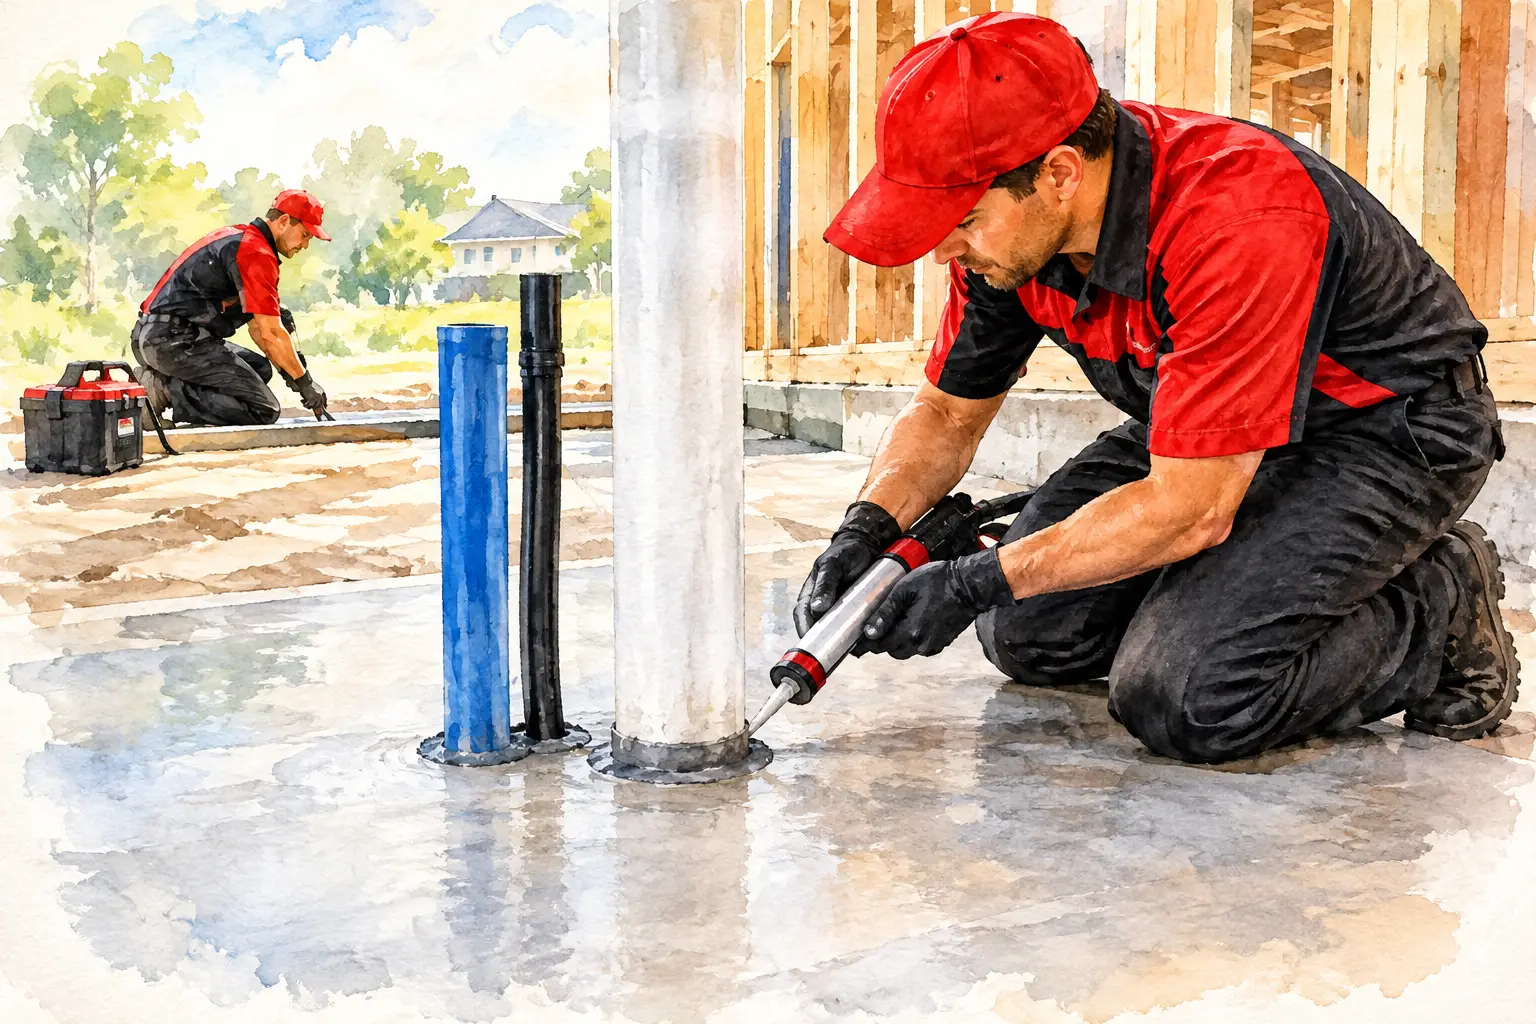
Physical barriers are durable materials installed during construction to block concealed termite access or force termites into view. They are commonly positioned around service penetrations, slab edges, wall cavities, and construction joints. Products may use stainless-steel mesh, graded stone, or specially designed membranes.
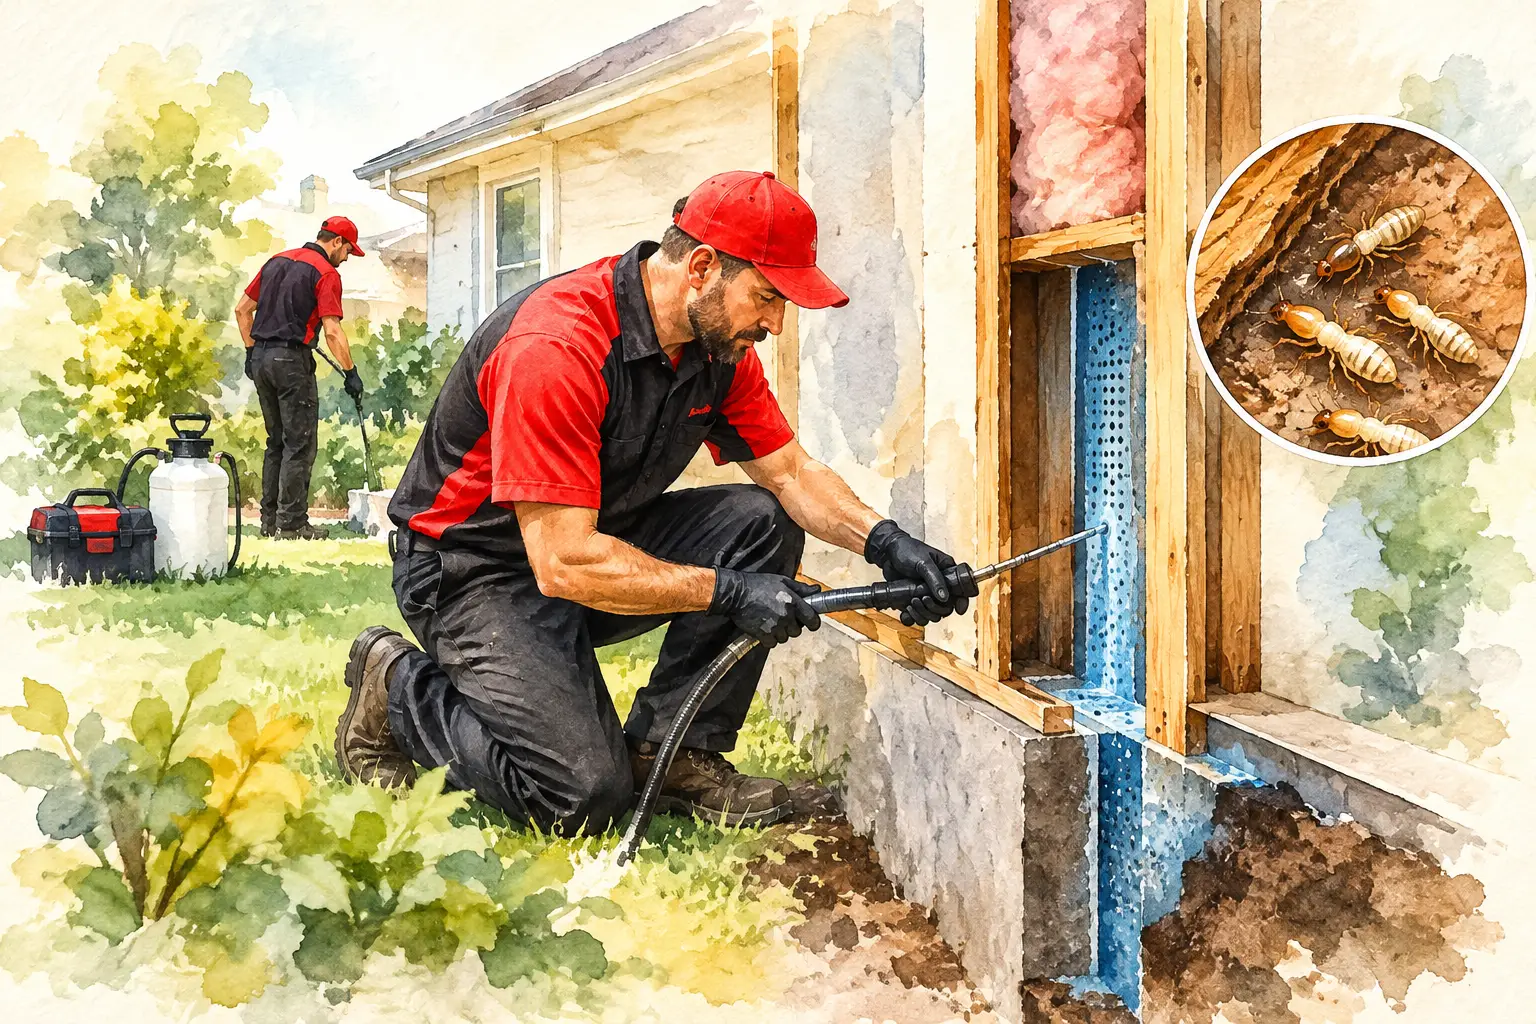
Chemical barriers use a termiticide applied to soil or delivered through a reticulation system around and beneath the building. Modern non-repellent treatments are designed so termites move through treated soil and transfer the active ingredient within their colony, rather than simply avoiding the area.
Both approaches can be highly effective when correctly designed and installed. The practical difference is that physical systems generally cannot be topped up after construction, while chemical systems need professional monitoring and periodic replenishment to maintain their protective zone.
| Feature | Physical barrier | Chemical barrier |
|---|---|---|
| How it works | Blocks hidden entry points or makes termite leads visible | Creates treated soil that affects termites crossing it |
| Best installation stage | During new construction | During construction or as a post-construction treatment |
| Ongoing service | Inspection for damage, bridging, or altered landscaping | Inspection plus refill, recharge, or retreatment when required |
| Suitable for existing homes | Limited, depending on access and construction | Usually yes, subject to a site assessment |
When a Physical Barrier Makes Sense
Physical barriers are particularly valuable for new builds, where they can be integrated before concrete is poured and walls are closed. Systems such as mesh, membrane, and penetration collars are installed in locations that would be difficult or expensive to access later. For builders, this can provide a clear, documented part of the termite management system.
The main benefit is longevity. A properly installed physical system does not rely on chemical concentration in soil, and it does not require a refill. However, “maintenance-free” does not mean “inspection-free.” Termites may bridge around a barrier if garden beds, pavers, stored timber, render, or soil are raised above the inspection zone.
This is especially relevant around newer homes in Box Hill, Gables, and Kellyville, where landscaping is often completed after the build. A garden bed placed against a weep hole or slab edge can bypass the very detail intended to reveal termite entry.
Practical advice
Keep slab edges and weep holes visible where possible. Do not pile mulch, soil, timber, or stored materials against exterior walls. If landscaping has changed since construction, arrange an inspection to check that the physical barrier has not been bridged.
When a Chemical Barrier Is the Better Option
Chemical barriers are often the more flexible choice for established homes, renovations, and properties where termite protection needs to be restored. A technician can treat soil along the external perimeter, under accessible floors, at expansion joints, or through carefully drilled access points where appropriate.
For homes with a reticulation system, chemical delivery can be more controlled. Systems such as Termguard, TermStop, TermX, Altis, Camilleri, Cavtech, and Reterm use installed pipework and emitter valves to distribute termiticide beneath or around the structure. This avoids unnecessary excavation and allows the barrier to be replenished as part of an ongoing program.
Refill timing is not identical for every property. It depends on the system installed, the treatment product, label directions, soil disturbance, drainage, construction changes, and prior service records. A professional inspection should confirm whether the system is intact, accessible, and delivering treatment correctly before a recharge is recommended.
Warning signs your chemical barrier needs attention
A missing cap, damaged emitter valve, blocked pipework, new paving, excavation, or an extension can compromise a reticulation barrier. So can poor records. If you have bought a home in Castle Hill, Baulkham Hills, or Ryde and have paperwork showing an installed system but no recent maintenance history, do not assume the barrier is current.
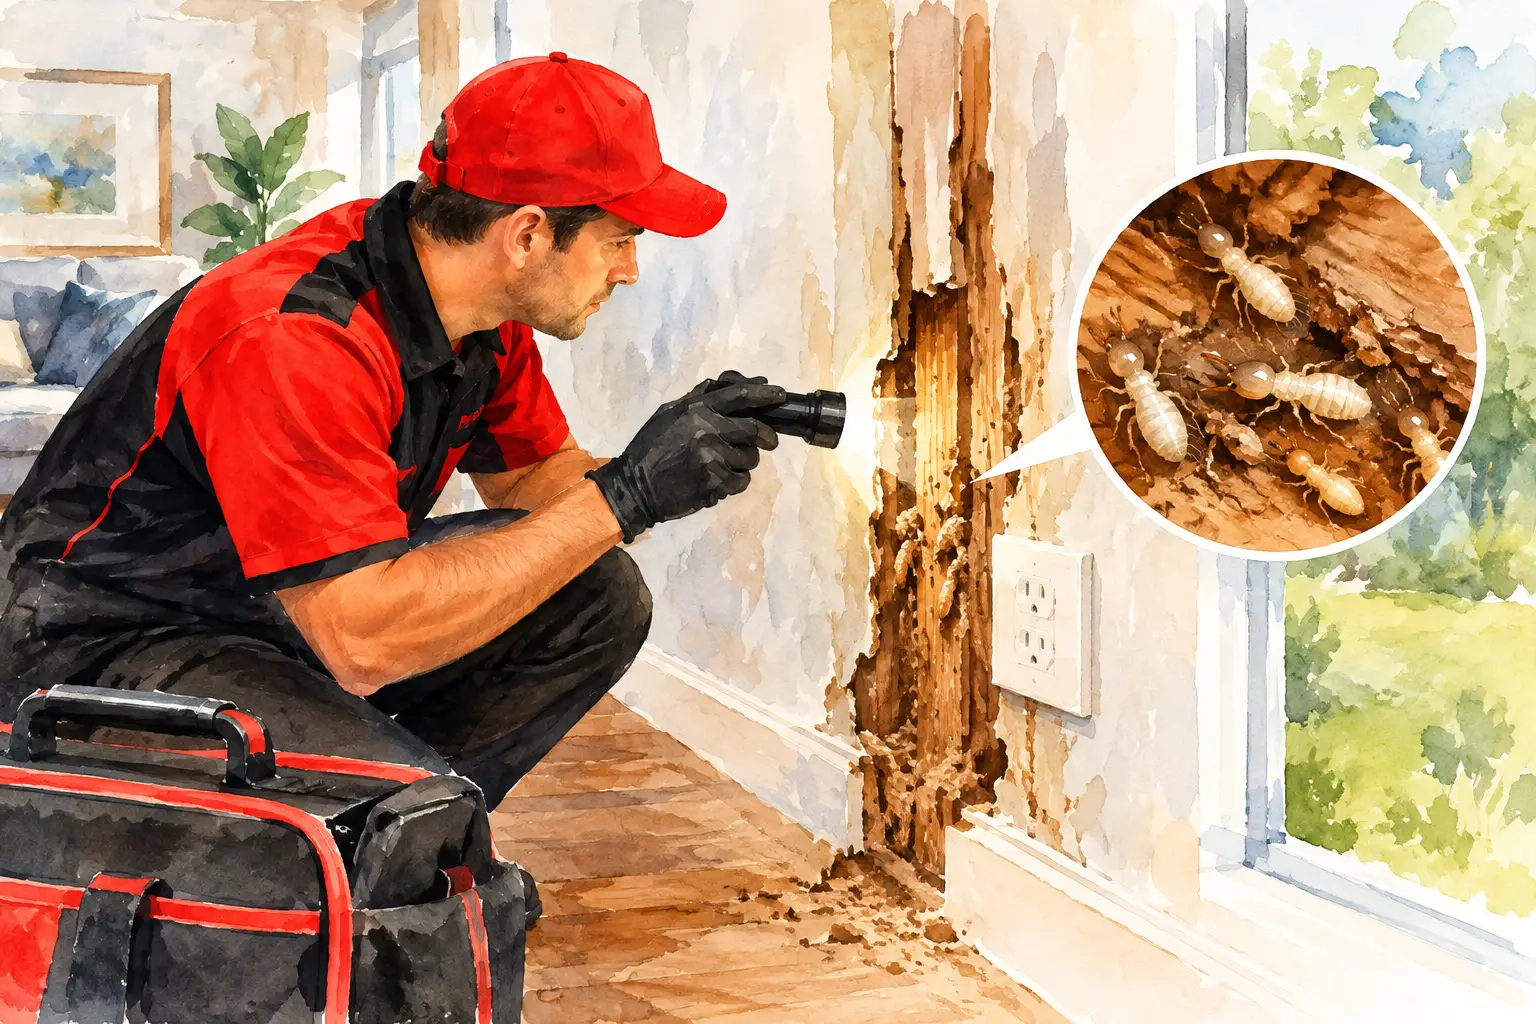
Visible mud tubes, soft or hollow-sounding timber, tight-fitting doors, bubbling paint, and unexplained moisture are reasons to act quickly. These signs do not always mean termites are present, but they warrant a thorough inspection. Thermal detection and targeted moisture assessment can help investigate concealed risk areas without guessing.
Can You Combine Physical and Chemical Protection?
Yes, and for many new homes, a combined approach is the strongest practical option. A physical system can protect critical concealed construction details, while a chemical soil barrier or reticulation system provides an additional managed zone around the building. The value is not in having two products for the sake of it. It is in reducing gaps created by complex construction, changing ground levels, or future alterations.
A combined strategy is also useful where high-risk features exist, such as subfloors, retaining walls, poorly draining areas, timber landscaping, or service penetrations that are hard to inspect. It should be designed for the property, not copied from the house next door.
How to Choose the Right Termite Barrier
Start with the construction stage. If you are building, ask for the termite management design before the slab and wall systems make access difficult. Confirm what has been installed, where it is located, and how it will be inspected after handover. Builders should retain installation documentation and ensure the system aligns with the project’s compliance requirements.
If you own an existing home, begin with a detailed termite inspection. This identifies active termite evidence, conducive conditions, moisture issues, barrier gaps, and the condition of any existing reticulation points. From there, treatment may involve a chemical soil barrier, a system refill or repair, baiting and monitoring, localized treatment, or a combination of methods.
Practical advice
Do not wait for damage to choose a protection plan. Annual professional inspections remain essential, even when a physical or chemical barrier is present. Barriers reduce risk, but they do not replace inspection access and regular monitoring.
Protection That Fits the Property, Not a Sales Script
Physical barriers are excellent when incorporated correctly during construction. Chemical barriers offer adaptable, serviceable protection for both new and existing homes. Neither is automatically better in every situation, and a low-cost one-time spray is rarely a long-term answer for a valuable property.
The most useful next step is an assessment that considers the building, its history, and the conditions termites can use to enter unnoticed. With a clear inspection record and a barrier plan that can be maintained, homeowners can make decisions before a small concealed entry becomes expensive structural damage.